If you’re a diehard coffee lover, you already know freshly roasted beans are the most flavorful. And what could be fresher than roasting coffee yourself? This process can sound daunting, but it’s easier than you might think.
There are three simple ways to roast your coffee beans at home: in a pan on the stove, oven, and in a popcorn popper. We will introduce these methods to you, along with all the steps to roast beans using those methods.
Home Coffee Roasting Essentials
Before you start your home roasting adventure, you need some coffee knowledge. These five bits of information will help you understand what you’re about to do. Then we will get into the detailed how-to’s.
1. Ventilation
You need to be able to ventilate the room you are roasting in. Look for a fan on your oven to use, or have a window open. There will be some smoke during the roasting process, and preparing ventilation in advance makes it easy to deal with.
2. Roast Level
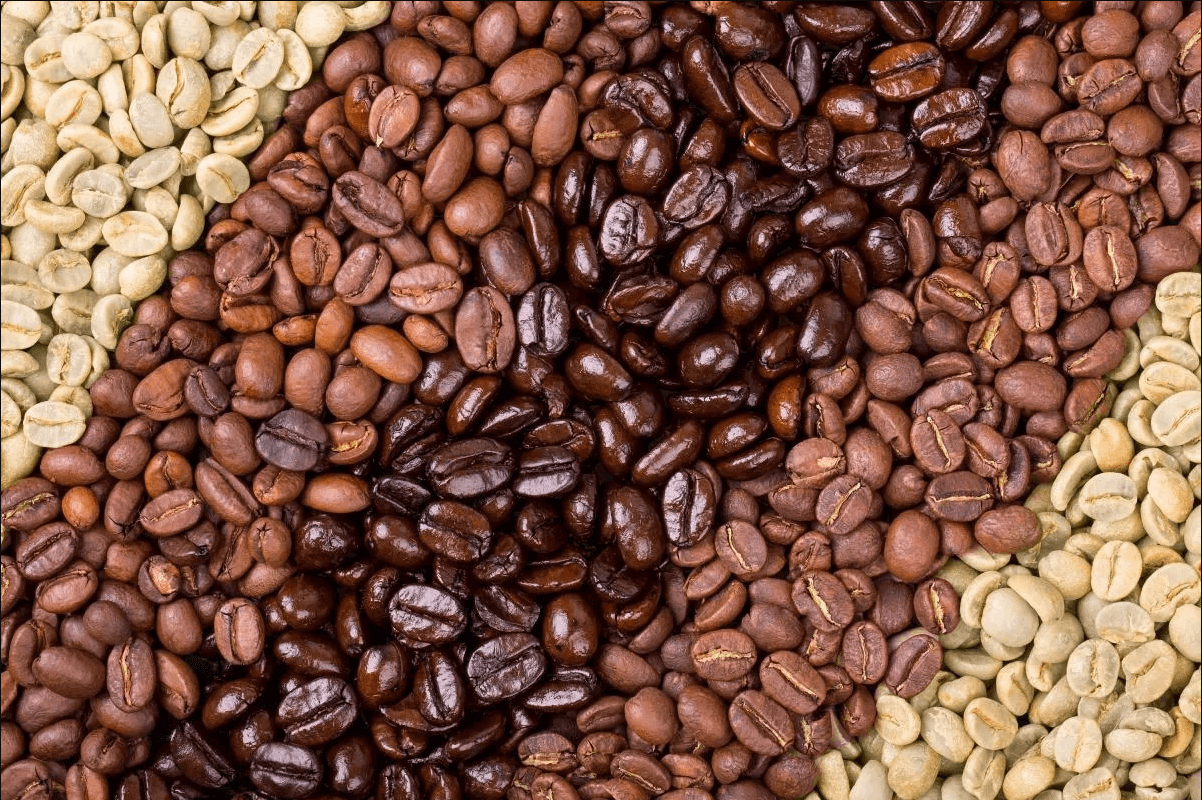
Notice the color changes and cracks in the beans during the roasting process. They will start green, then change to a yellow, light brown, golden brown, and dark brown. You’ll also see and hear the cracks the beans make. They crack the first time when they turn from light brown to a golden brown. This is when you take them off the heat if you want a light roast or wait another minute for a medium roast.
If not, let them cook from golden brown to dark brown when they crack a second time. This is when it will be a medium-dark to dark roast. Be sure to take the beans off shortly after the second crack because they will get a smoky flavor that tastes like charcoal if left on for too long. Nobody wants burned beans!
The beans will continue to cook after you take them off or out of the heat source while they cool, so be sure to account for that when choosing when to remove them.

3. Chaff
There is a by-product of roasting coffee called chaff. This is the dry husk of the coffee bean and can be messy. To avoid a mess, take your beans outside or over the sink to cool them in the colander or bowl. If you have difficulty removing the chaff, shake the beans in your colander a little more complicated. A lot of motion will cause most of it to come off by itself.
4. Storage
After the beans are cooled, store them in an airtight container away from heat and light. Stored this way, your beans will stay fresh for up to a month. Don’t wait too long, though – their peak freshness will be in the first week after roasting!
First Method: Pan Roasting

This method is comfortable because you are used to using a pan for cooking meals. However, it can be challenging to do it just right. You might not have a consistent roast the first few times you go through the process. Don’t worry, though; we are here to guide you. The roasting will take 5 to 10 minutes, depending on how much you want your beans roasted.
Things You’ll Need:
- A pan (cast iron is best)
- Stove (electric or gas)
- Metal colander or bowl
- Oven mitts
- Wooden or metal spoon
Tip: Using a cast-iron pan will generate heat faster and hold it longer to help reach the right temperatures.
1. Heat your pan on medium to high heat.
Let the pan reach about 500 degrees Fahrenheit. Heat adjustment throughout roasting may be necessary, but don’t make it much hotter than 500 degrees.
2. Add your green coffee beans.
Measure a half-cup of green coffee beans and pour them into the pan. You can adjust the amount if you want more, but start small. You want to be able to stir them around quickly
3. Stir regularly.
Start stirring and keep doing so while the beans roast. This helps the heat distribute evenly.
4. Watch for color changes and listen for cracks.
Let the beans change color from green to yellow to light brown and have their first crack. If you want a light roast, stop roasting. If you wish to medium roast, remove the beans from the heat after they change color to a golden brown, but before the second crack. If you want a dark roast, let them crack the second time, then remove them from the heat.
5. Transfer to a colander or bowl.
Once the pan of coffee beans is off the heat, dump them into the metal colander or bowl. Stir them around to keep them cooling down. Be careful since the beans are still around 450 degrees.
6. Allow the beans to de-gas.
Leave the beans in a container with the lid off for eight to 24 hours. This allows carbon dioxide to escape. You may be tempted to brew your aromatic beans immediately, but you’ll want to hold off for the best flavor. Your coffee will be at its most delicious about 24 hours after roasting.
7. Enjoy and store in an airtight container!
Grind your beans just before brewing and store the remainder in an opaque, airtight container.
Second Method: In the Oven

Oven-roasting your beans is another simple method: stir and check on them regularly. A plus side to this method is that it gets even roasting results in 5 to 10 minutes.
The steps are largely the same as the stove method. Heat your oven to 500 degrees Fahrenheit and evenly spread half a cup of green coffee beans on a baking tray. Stir every one to two minutes, observing color changes and listening carefully for the first and second cracks. Remove from the oven and follow steps five to seven above.
Third Method: Popcorn Popper

Our third method may be a little more unexpected: an old-fashioned popcorn popper. This method also takes five to 10 minutes. Make sure you buy the right kind of popper. Effective poppers have built-in stirring mechanisms that will make consistent roasting much easier.
We’ve written a detailed guide on roasting coffee in a popcorn popper, but here are the basics.
Pour half a cup of green coffee into your popcorn popper and place it over medium heat on a stovetop. Using the stirring mechanism, stir continuously, listening carefully for the first and second cracks. Remove from heat and follow steps five to seven above.
De-Gassing Your Beans

If you are roasting beans at home, you must know about de-gassing. Letting your beans de-gas is safer and will produce better flavors. If you’ve ever noticed the one-way vent on coffee bags, it lets carbon dioxide escape while keeping oxygen out.
First, let us explain what de-gassing is. During the roasting process, gases form inside the coffee beans. After roasting completes, the gases, mostly carbon dioxide, start seeping out. Much carbon dioxide will leave the beans within the first 24 hours.
What’s the best way to de-gas? Just place your beans in the storage container you plan to use, but keep the lid off or slightly open for the gases to escape. De-gassing is necessary after roasting for at least a few hours and up to 24 hours, as mentioned. After that point, you’ll want to seal the container, which keeps oxygen out and helps your beans stay fresh and flavorful.
Check our Coffee Beans Philippines Blogs for more Information


