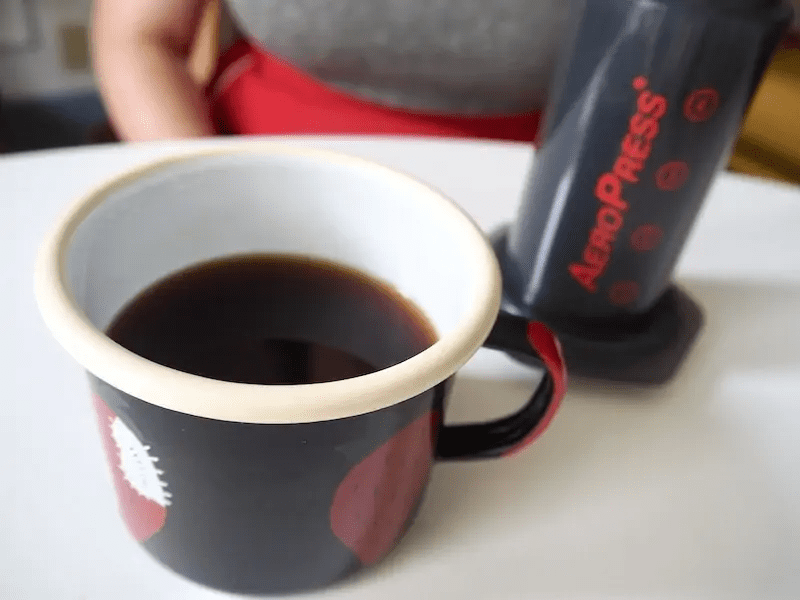
If you own an AeroPress, you’re in for a treat. This small, highly portable coffee maker can quickly brew cups of delicious espresso-like coffee. But to get the best coffee, you’ll need to perfect your technique. That’s where we come in!
We’ve put together a step-by-step guide to brewing excellent AeroPress coffee and some tips on other brewing methods. Scroll down to start brewing the best possible AeroPress coffee.
1. Prepare your coffee and water.
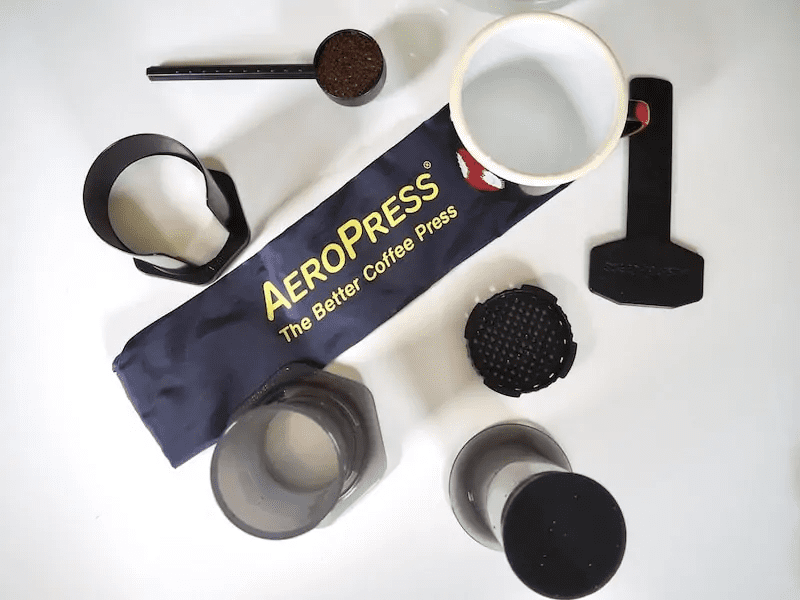
Bring about 7 ounces of water to a boil. If your kettle has a temperature gauge, aim for about 200 F. If not, let the water sit for a minute or two after boiling to reach the ideal AeroPress water temperature. Use a ratio of 15-16 grams (one rounded scoop) of coffee to 7 ounces of water. Make sure your coffee is ground to a medium-fine consistency.
2. Rinse your filter.
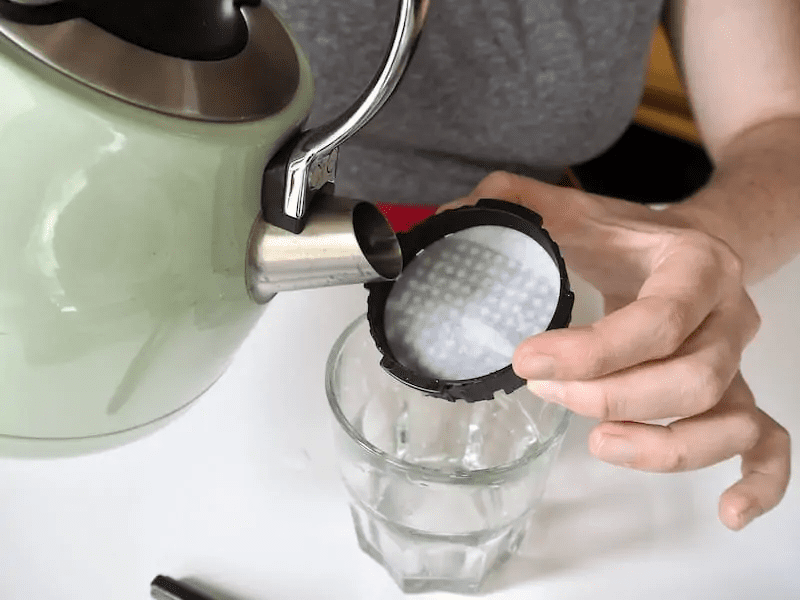
Place the filter in the cap of the AeroPress and carefully pour hot water over it. Discard the rinse water. Then attach the filter cap to the brewing chamber.
3. Set up the brewing chamber and add coffee grounds.
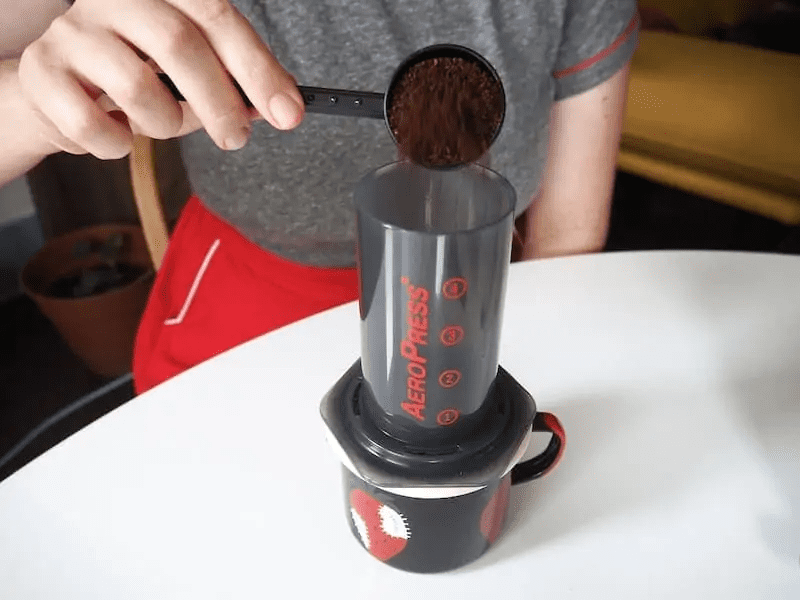
Place the brewing chamber on a cup or other heat-safe container. Add the coffee grounds, being careful not to spill grounds on the seal.
4. Start the timer and add a little water.
Start your timer and pour about an ounce of water in a circular motion over the grounds. Make sure you cover the grounds evenly. Then let the coffee bloom for 30 seconds.
5. Pour in the remaining water.
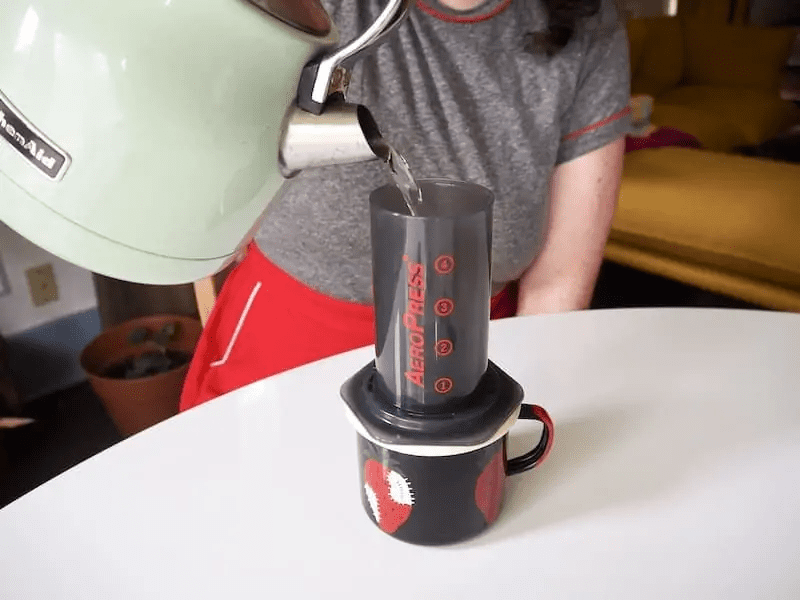
Pour water to fill the chamber, up to the fourth line. Stir the mixture 10 times and then let the AeroPress sit for two minutes.
6. Attach the plunger and carefully push it down.
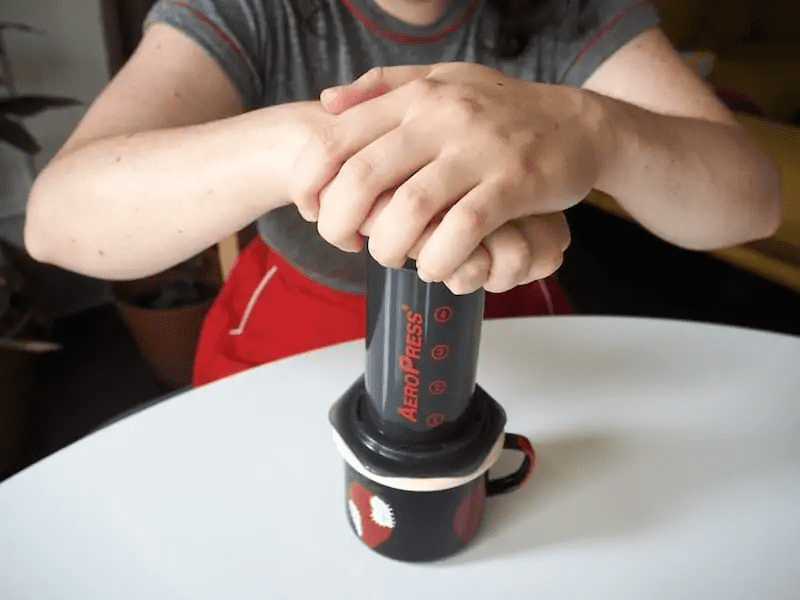
Slowly and steadily push the plunger down. Remember that there will be 30 pounds of pressure, so pushing should take some effort. Keep pushing until you hear the hissing sound. At that point, all of the water has come through.
7. Enjoy!
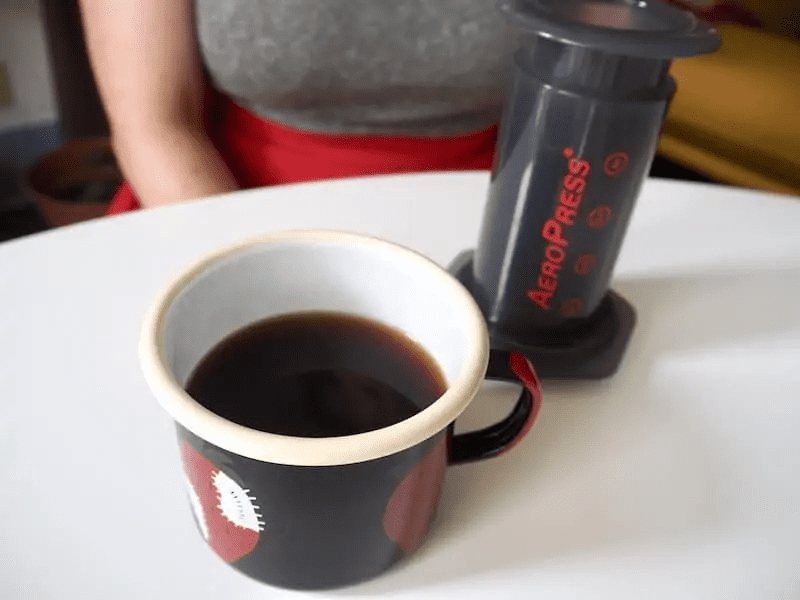
If you want to drink your coffee black, you’re done! You can also add hot water to make an Americano or hot milk for a latte. In the mood for an iced coffee? You can do that too!


